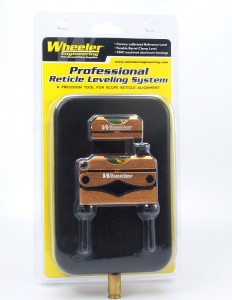
 For those looking to install a scope on their bolt-action rifle, air rifle, shotgun, or AR-15, Wheeler Engineering created their Professional Reticle Leveling System (also referred to as the PRLS in this article). Ensuring that your scope’s reticle is level is essential if you want to ensure accuracy; especially if you are using a tactical style reticle that offers Mil-dots or other range estimating tools. Having a canted reticle can cause some serious issues with hold overs or hold unders; and it just looks like crap.
- Reference Level
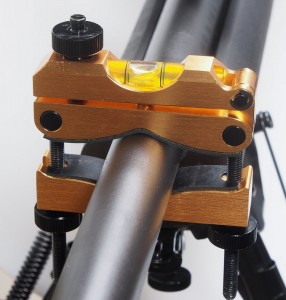
- Barrel Clamp Level
- Storage case
- Instructions on how to install a scope
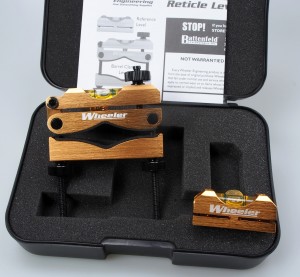 My initial impression of the Wheeler PRLS kit was that the tools were well made, and I liked the included storage case. When boxed up, the kit is light, but it does take up a bit of room. Price wise, the kit isn’t going to break the bank, but it’s not exactly cheap either. Wheeler lists the MSRP at $59.99, however we were able to find the kit on Amazon for about $45 shipped
 (with Prime).
Photo for illustration purposes only.
I used the PRLS to install a Hawke Sidewinder 30 Tactical SF 4.5-14x42mm scope to my AR-15, using an Aero Precision Ultralight scope mount. While in the past I would have used a small level to accomplish this task, the small magnetic Reference level and Barrel Clamp level included in the PRLS made leveling the reticle on the Hawke scope a cinch.
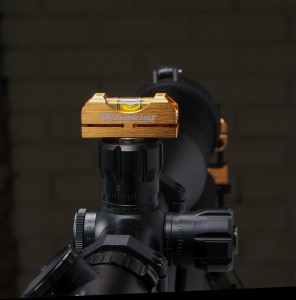
While some may not see the need to spend $45 or more dollars on the Wheeler PRLS, as there are small levels that can be had for less, the quality of the Wheeler offering is hard to beat. The bubble levels are larger than some I’ve seen, and they are nice and clear. As I mentioned earlier, the Reference Level is magnetic, so it stuck to the top of the turret securely while I rotated the scope. I even used the PRLS to ensure the scope on my Remington 700 was perfectly level, which was installed before I got my hands on the Wheeler system.
Photo for illustration purposes only.
The Barrel Clamp Level is used to ensure perfect alignment between the gun and the scope. You install it on the barrel, just forward of the hand guard. It has nice soft rubber inserts inside the clamp, meaning it won’t damage your barrel when torqued down. The instructions are printed on the front and back of an 8.5×11 inch piece of paper, and thoroughly explain the proper procedure for using both levels; which is a plus. Once you have ensured the receiver or lower half of the scope rings are level (whichever you used as a reference point), you turn the adjustment knob on the Barrel Clamp level so that it matches the Reference level. This ensures that the Barrel Clamp level is indexed with the receiver, and then you can remove the Reference level so you can place either the rings and/or scope onto the rifle. You then simply place the Reference level onto the scope’s top turret, and rotate it until both levels are in perfect alignment. Then you torque your rings down and voilà; you have your scope mounted with a perfectly level reticle.
At just under $50, Wheeler’s Professional Reticle Leveling System may not be for the average person who will mount only one or two scopes in their lifetime. However, it’s a great tool for a gunsmith or enthusiasts who plan to install various scopes on their rifles. With the main components being made from CNC machined aluminum, the PRLS is sure to last; which can’t be said for some of the cheap plastic alternatives out there.
By: William Chambers
—-
- AR-15 Trigger Guide – Options to Help Improve Your MSR - April 23, 2014
- Aero Precision Ultralight Extended Scope Mount Review - March 19, 2014
- Hawke Sidewinder 30 Tactical SF 4.5-14×42 Scope Review - November 12, 2013

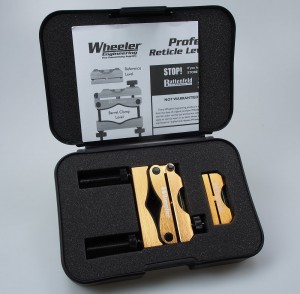

[…] most position on my upper receiver, and went through the process of installing my scope using my Wheeler professional reticle leveling system. While moving the rear ring allows you to move the scope forward a bit, I ran into one small […]