 It seems like everyone owns at least one. I should know, I now own two and plan to add to my “collection” in the near future. The Ruger 10/22 is hands down the most popular .22 Rimfire rifle of all time. Because of this, there are dozens of companies who offer equipment to turn that lowly .22 Rimfire, into a tack-driving, killing machine. In this article, I will discuss the conversion of my older 10/22, into the Ruger 10/22 Ground Squirrel Slayer!
When I began investigating the conversion, I went into it knowing basically what I wanted when I was done. This rifle had to be accurate, comfortable to carry and able to shoot the most destructive bullets available in the .22 Long Rifle caliber, CCI Stingers and CCI Velocitors. Now, some are probably asking how I can expect my rifle to be accurate while shooting these inherently inaccurate hyper-velocity .22 rounds. Well, let’s just say that I was not looking for bench-rest accuracy, instead I was looking for real life, hunting accuracy: <1/2″ at 50 yards.
I started with an old Ruger 10/22 that was manufactured in 1981. It was the “Carbine” version pictured at the top of this article. The rifle had been used a lot in the high desert of Southern California while I chased Jack Rabbits, Cottontail and Ground Squirrels when I was young. Unfortunately, it spent the last decade or so in the back of my gunsafe while other, more “interesting” calibers took centerstage. The gun was mechanically sound, with no visible signs of metal fatigue or damage to the stock. Other than being a bit dirty (who cleans a 10/22?), the rifle was in perfect condition for a conversion.
The Stock:
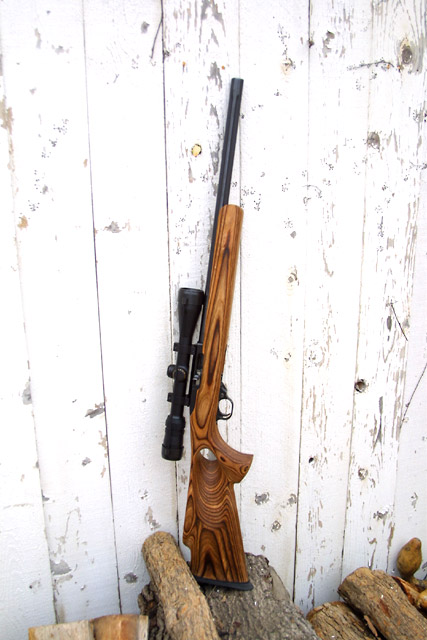
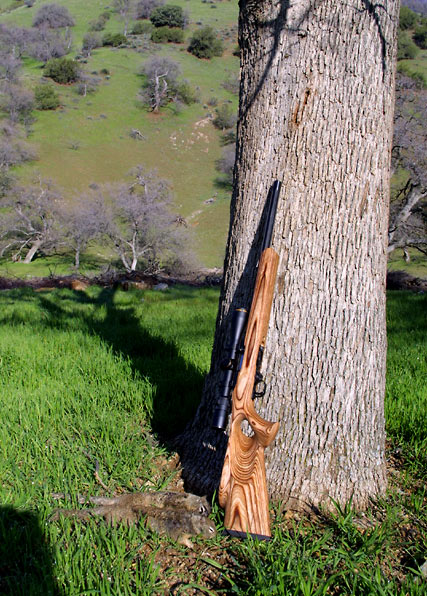
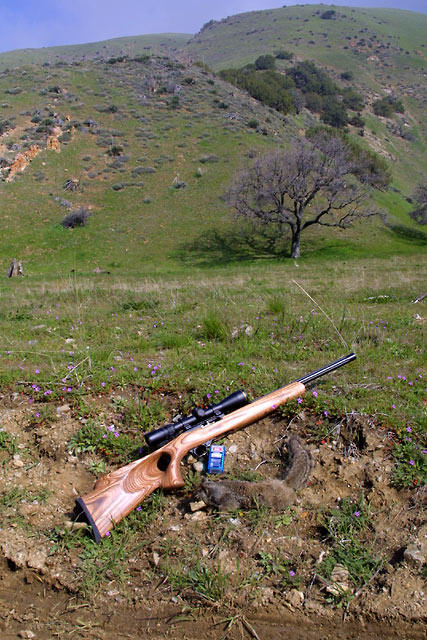
The first item I purchased for the GSS Project was a stock. I happened to see a Laminated Fajen Thumbhole stock on the Hornet Products website. The shape of the forearm really appealed to me, as I didn’t want a wide, bench type forearm. It was a bit over $100.00 (a list of all the components and pricing will be listed at the end of the article) for the unfinished version and they got it to me quickly and in good shape. I wanted an unfinished stock so I could do the sanding and finishing myself. I do not like “plastic” looking wood finishes, so I opted to put a low gloss Tung Oil finish.
I spent a few hours sanding the stock getting ready for the tung oil application. I followed the directions which were to sand with medium paper, then fine, then extra fine, wipe down with a damp rag and repeat with the fine and extra fine. There was not a lot of rough spots to work through on the Fajen stock, although a slight rise in the barrel channel concerned me, but more on that later. The sanding made the stock butter soft and ready for the tung oil.
I applied the first coat of tung oil using Formbys Tung Oil. Again, I do not like real glossy finishes, especially on guns, so I chose the low gloss. The first coat brought the grain out on the stock and it was beautiful. I then rubbed it down with some 0000 steel wool and repeated the process only two more times. That way the sheen was left, but not glaring and plastic looking like with poly-urethane coatings.
As mentioned before, there was a slight rise in the barrel channel at the foreend. I felt that this would be too much contact for the barrel and decided to whip out my Dremel and remedy the problem. Well, I found out afterwards when I fitted the barreled action that this was a mistake. The folks at Fajen, who have only been making stocks for decades, left that rise in order to support the heavy barrel while it rested in the channel. Stupid, huh? I corrected my mistake when installing the barrelled action, but once again, more on that later. Lastly, in fitting the barreled action, I found that I had to take a bit off one side of the clip in order for there to be slight clearance (enough for a business card).
The Barrel:
Most aftermarket .22 Long Rifle barrels are cut in a “Bentz” chamber. In layman terms, what this means is you cannot shoot “CCI Stinger” ammo in those barrels. So, I had to specifically order a “Stinger”Barrel from the company I decided on. After hearing a ton of good things from our Technical/Guns Editor Tim Mancillas, I decided on a Green Mountain rifle barrel. They have a heavy (.920 diameter) barrel, with flutes in a blued version, 1:18 twist, hypervelocity, that is chambered specifically so you are able to shoot “CCI Stingers”. When I received the barrel, I was very impressed. It was gorgeous! I know that is a strange thing to say about a rifle barrel, but darn this thing was nice! I was eager to get it on my gun, so I gave it a good cleaning and wipe down to get off any gunk that may have been left. Before I installed the action for good, I pulled the trigger assembly, removed the old barrel and cleaned out the 20+ years of guck that had accumulated within the assembly. Don’t forget, this was a gun I barely cleaned and the gun shot better because of it!! I followed the simple instructions to install the new barrel, making sure everything lined-up correctly and fit well. Some folks have had issues with getting the barrel into the sleeve, but I had none.
Once I fitted the barrelled action into the stock, I rechecked the magazine clearance and everything worked fine. As mentioned before, I had realized why the slight rise in the barrel channel was so important. It supported the heavy barrel. Being that most stocks are cut loose anyways, as opposed to tight, the barrel and action moved slightly up-and-down after bolted in. While I’m not a big fan of epoxy/glass bedding, I needed to do something. I decided on an aluminum foil tape bedding job. WTF is that you ask? Well, go to any hardware store and you can pick-up a roll of this stuff. I have used it before to do a quick bedding job when needed to relieve any wobble. I covered the area directly behind the action, in the groove where the bolt attaches the stock and the receiver together. Lastly, I put a few layers down for the first 2.5″ of the barrel channel in front of the receiver. Granted, it is not the prettiest (when the barrel/receiver are off the stock), but it does the job on snugging everything up.
Optics:
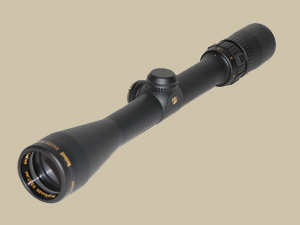
Next I mounted the scope. I decided to use a Bushnell Elite 4200 1.5×6-36mm on this rifle because most of my shots will be within 75 yards. I lined it up and adjusted the eye-relief where it should be perfect in any hunting situation. It is waterproof and a perfect size for a walk-around rifle.
Misc. Upgrades:
I added or have yet to add the following items, which are just as important as the other components.
I received and installed the Ruger 10/22 Bolt Recoil Buffer from WeaponKraft. Very simple install, with no difficulties at all.
Once again, our Technical/Guns Editor Tim came through with some aftermarket trigger components to help with the trigger pull.
The Final Product: 10/22 Ground Squirrel Slayer
Field Report – Or Slaying Squirrels With the GSS:
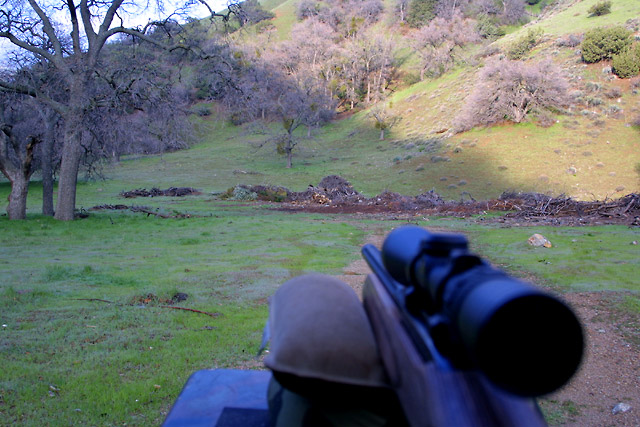
It was still early in the season here in SoCal when I got to take my 10/22 Ground Squirrel Slayer out in the field for some real world tests. I headed up to the ranch where I have a small game lease just north of Los Angeles. The weather in the morning cooperated perfectly, with only a few clouds and a big, warm sun to draw the squirrels out. I stopped at a place that I know holds squirrels and setup a 100 yard target so I could sight my guns in. I sighted both my 10/22 and my .17 HMR at 100 yards. Normally, I would sight my 10/22 at 50 yards, but I wanted to see what I could do with it. I was very pleased!
After sighting in, I waited for the sun to start warming up the valley. It didn’t take long before ground squirrels were appearing on the wood piles and in front of their holes. My first shot was at a large squirrel that looked very tired and not ready for the day! He took his sweet time getting comfortable on the “launching pad”, with his drowsy eyes half-open. The sun hadn’t even touched his spot yet, but he was darn ready for the morning chill to be over.
I adjusted my bench and slowly rotated the table to line up with him. I adjusted the scope and let the crosshairs settle on his shoulder. At the shot, I saw a puff of red shoot out the squirrel as it’s entire body stiffened up and fell to the ground. Definitely not the explosive reaction I get from the 17 HMR, but impressive just the same. The best part was that I was able to see the entire thing because my barrel barely made a move on the bag.
My second and third shots were about the same, except I extended the distance out to about 75 yards for the longest shot.
The rest of the day I spent walking around for the ground squirrels, using my 10/22 GSS and my .17 HMR. It was a blast until the fog and rain moved in.
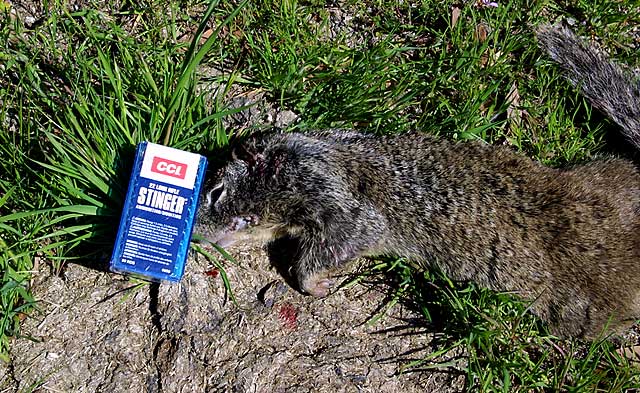
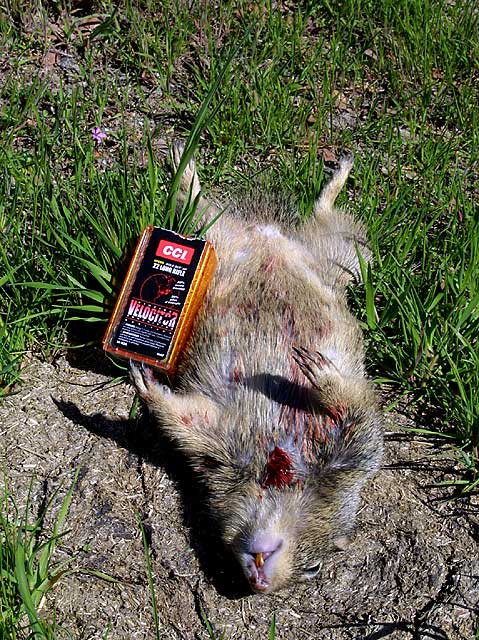
Both the Stingers and the Velocitors (which I used at a later date) did very well. Sure, it doesn’t have the explosion factor that the .17 Rimfires have, but it kills them dead just as fast if you do your job with bullet placement.
Final Thoughts on The 10/22 Ground Squirrel Slayer:
When I first built this rifle, my goal was to have a very accurate, walking around hunting rifle. Since finishing the project, I have killed over 50 ground squirrels with it. It is a highly accurate tool in my varmint hunting arsenal. However, I have found that the weight of this rifle has made it basically a bench-shooting gun. I can and do walk with it, but from a guy who is used to walking up and down hills and across valleys in search of the mother-lode of varmints, this gun is just too heavy. Some of you have read my thread in the Varminter Forums about my next projects, which I deemed the “Rimfire Rifle Shuffle”. That will be my answer to the heavy gun issue I am having now. I will not be giving up on this setup, in fact the next 10/22 action I purchase will become the heart of a new GSS with the same components I will eventually taking off this one. The fact of the matter is this, when you finally become satisfied with all the 10/22’s you own and have run out of customization projects, you will probably be too damn old to shoot them anyways!! – By: Eric Mayer
Suppliers and Pricing:
$109.00 – Fajen Thumbhole Sporter Stock – Coffee: Hornet Products
$109.00 – Green Mountain Ruger 10/22 Barrels Blue Fluted Barrel 1:18 Twist – Green Mountain Barrels
$200.00 – Bushnell 1.5-6×36 Elite 4200 Rifle Scope – LAX Range (scope was on close-out)
$ 6.00 – Bolt Buffer – WeaponKraft
Originally published: May 2, 2005
- A Unique Rifle – CZ Model 527 in .20 Hornet Ackley Improved - November 25, 2025
- My Favorite New Factory Rifles of 2025 - October 28, 2025
- Winchester XPert Rifle in 17WSM – A Summary of an Upcoming Review - September 16, 2025

